How to Condition Your Shins Safely for Muay Thai
A step-by-step guide to conditioning your shins for Muay Thai the smart way, using gradual loading instead of painful old-school myths.
In this guide
The Fighters Shop is reader-supported. As an Amazon Associate we earn from qualifying purchases, at no extra cost to you. Learn more
Every Muay Thai fighter eventually asks the same question: how do you get shins that can check a kick or throw one without wincing? The honest answer is that it takes time, patience, and a plan, not a weekend of pain tolerance tests. Done wrong, shin “conditioning” can cause periosteal bruising, stress reactions, and even fractures that sideline you for months.
Done right, it’s simply the natural byproduct of consistent training: your bones densify, nerve sensitivity drops, and soft tissue toughens up in response to repeated, moderate stress. This guide walks through a safe, gradual approach used by experienced Muay Thai coaches, along with the gear that makes the process safer while you build that resilience.
Step-by-step
Start with proper technique, not toughness
Before you worry about conditioning, make sure your kicks land with the correct part of the shin and that your checks are angled properly. Bad technique concentrates impact on one small area and makes injuries far more likely, no matter how “tough” you think you are. Work with a qualified coach who can watch your form on pads before you increase contact volume.
Warm up thoroughly before any contact drills
Cold tissue is stiff and more prone to bruising, so spend at least 10 minutes on dynamic movement, light shadowboxing, and easy kicks before adding impact. This gets blood flow into the lower leg and prepares the periosteum for load. Skipping the warm-up is one of the fastest ways to turn conditioning into an injury.
Begin with pads and bags, not shin-on-shin contact
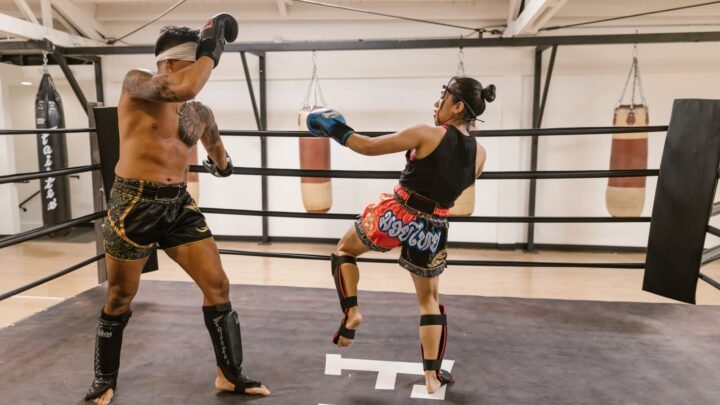
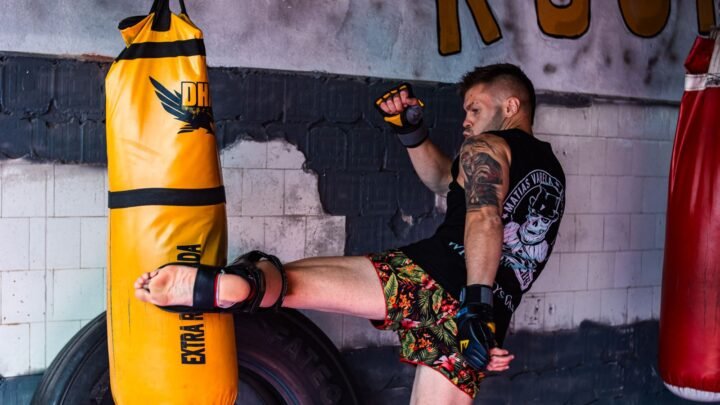
Your first weeks of conditioning should come from kicking a heavy bag or Thai pads at moderate power, not sparring or shin clashing with a partner. A well-padded bag distributes force more evenly than a training partner’s shin does, which is a gentler introduction for new tissue. Increase power gradually over several weeks rather than kicking as hard as possible on day one.
Add controlled shin-to-shin drills gradually
Once bag and pad work feel comfortable, introduce light shin-to-shin checking drills with a cooperative partner at low intensity. Both of you should agree on a pace, start soft, and only increase force together over multiple sessions. This mutual, gradual approach is how experienced camps build tolerance without repeated flare-ups.
Use a shin roller or foam roller between sessions
After training, gently rolling the lower leg with a foam roller or dedicated shin roller can help manage soreness and improve tissue quality. Keep pressure light to moderate; the goal is recovery support, not another impact session. Avoid rolling directly over any area that’s acutely swollen, bruised, or painful to the touch.
Ice and rest any swelling immediately
If you notice swelling, deep bruising, or a hot, tender spot on the shin, stop kicking on that leg and apply ice for 15-20 minutes at a time. Pushing through visible swelling is how minor bruising turns into a periosteal injury or stress reaction. A day or two of rest early is much cheaper than weeks off later.
Track your progress and increase load slowly
Keep a simple log of your kicking sessions, noting soreness levels the next day. A good rule of thumb is to only increase kicking volume or power once soreness has fully resolved from the previous session. Rushing this timeline is the single most common mistake fighters make.
Support the process with proper nutrition and sleep
Bone remodeling and soft tissue adaptation require adequate protein, calcium, vitamin D, and sleep. If you’re chronically under-recovered, your shins will take longer to toughen and will be more prone to injury. Treat conditioning as a whole-body process, not just something that happens during training.
Wear shin guards for sparring and hard drilling
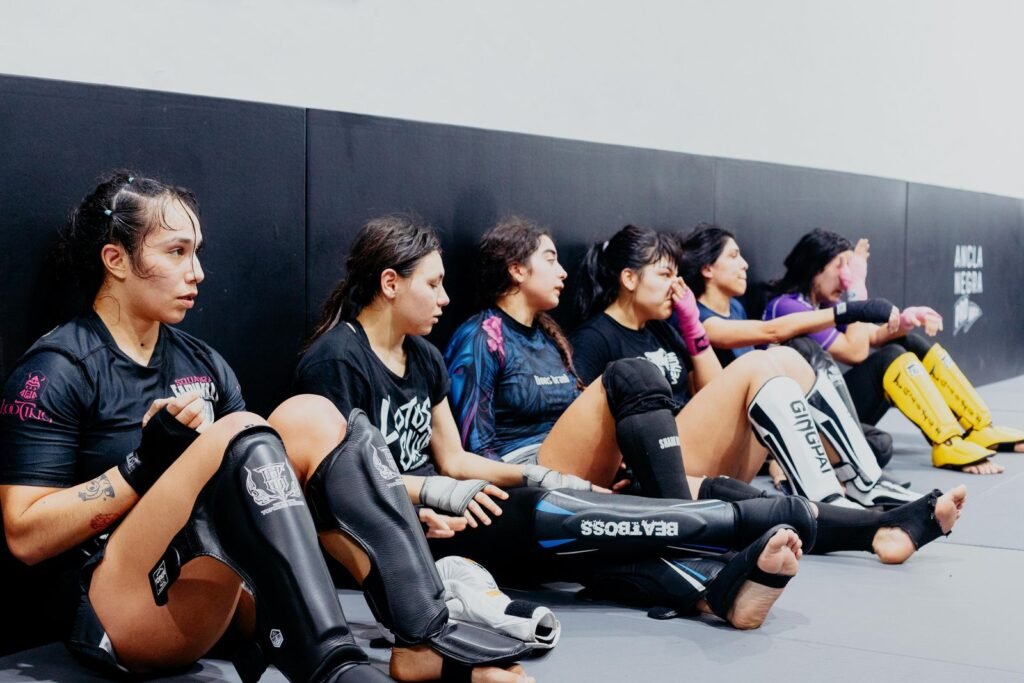
Even once your shins feel more conditioned, wear quality shin guards for sparring, clinch work, and any harder-contact drilling. Guards protect both you and your partner while you’re still building tolerance, and experienced fighters continue using them for sparring throughout their careers. See our Top 10 Best Muay Thai Shin Guards guide for options across budgets.
Common mistakes to avoid
Rolling bottles or bones on your shins. This old-school myth has largely been dismissed by modern coaches and sports medicine professionals. It causes direct trauma to the periosteum without the gradual adaptation that real conditioning requires, and it offers no proven benefit over structured pad and bag work.
Kicking as hard as possible from day one. New tissue needs time to adapt. Going all-out on a heavy bag before your shins have any base conditioning is a fast route to bruising and micro-fractures.
Ignoring pain signals. Sharp, localized pain or visible swelling is your body telling you to stop. Fighters who push through this often end up with much longer layoffs than if they’d simply rested for a few days.
Skipping shin guards in sparring. Sparring involves unpredictable contact from a live opponent, which is very different from controlled drilling. Guards reduce the risk of an accidental hard clash undoing weeks of careful conditioning.
Comparing your timeline to others. Genetics, training age, and body composition all affect how quickly shins adapt. Some fighters need months longer than their training partners, and that’s normal.
Tips from the gym
Coaches often recommend conditioning shins in the same session as your regular pad or bag rounds rather than as a separate “conditioning day.” This keeps volume naturally moderate and ties toughening directly to skill work instead of turning it into a punishing standalone ritual.
Many gyms also suggest alternating which leg leads in drilling so you don’t overload one shin while neglecting the other. Balanced development matters for both durability and fight performance.
Wrapping the shin with athletic tape or a compression sleeve during early conditioning phases can offer a small buffer while soft tissue adapts, though it’s not a substitute for gradual loading. Some fighters also find that a well-fitted pair of Muay Thai gloves and proper hand wraps help them focus on clean technique during pad rounds, since sloppy punches often lead to sloppy kicks too.
If you train at a gym affiliated with a national or international Muay Thai federation, ask your coach about their specific conditioning progression, since programs can vary. For general guidance on safe training loads and injury prevention, resources from the National Athletic Trainers’ Association and the World Health Organization on gradual load management principles can be useful supplementary reading, though nothing replaces in-person coaching.
Recommended gear
Good gear won’t replace patient conditioning, but the right equipment makes the process safer and more comfortable while your shins adapt. A supportive pair of shin guards is non-negotiable for sparring and harder drilling sessions.
Fairtex Competition Shin Guards are a popular choice among Muay Thai gyms for their coverage and durable construction. For pad and bag work, a solid heavy bag like the Century Wavemaster XXL gives you a stable, forgiving surface to build power gradually.
To help manage soreness between sessions, a TriggerPoint GRID Foam Roller is a versatile option that works for the shins as well as the rest of the legs. If you want dedicated Thai pads for a training partner to hold, Fairtex Muay Thai Pads are well regarded for their shock absorption and stitching quality.
For a full breakdown of options across different budgets and training levels, check out our Top 10 Best Muay Thai Shin Guards guide, and browse the wider Protection Gear hub for pairing knee, elbow, and other guards with your setup.
Frequently asked questions
How long does it take to condition your shins for Muay Thai?
Most fighters notice a meaningful reduction in sensitivity after 3 to 6 months of consistent training, though full conditioning can take a year or more. It depends on training frequency, technique quality, and individual recovery capacity, so there’s no fixed timeline that applies to everyone.
Is rolling a bottle on your shins actually effective?
Most modern coaches advise against it. It applies direct, uncontrolled trauma to the shin without the gradual, progressive loading that real tissue adaptation requires, and it carries a real risk of bruising or worse without any proven advantage over structured pad and bag training.
Do shin guards slow down the conditioning process?
No, wearing shin guards during sparring and hard drilling doesn’t meaningfully slow conditioning, because your bags and pad rounds without guards still provide plenty of adaptive stimulus. Guards simply protect you and your partner from unpredictable, high-force contact while your tissue continues to build tolerance over time.
What does dangerous shin conditioning look like?
Warning signs include visible swelling that doesn’t resolve within a day or two, a hot or intensely tender spot on the bone, or pain that changes your gait. Any of these warrants rest, ice, and a conversation with a coach or medical professional before returning to hard contact.
Can beginners start shin conditioning right away?
Beginners should focus on technique first and let conditioning happen naturally through regular pad and bag work rather than seeking out extra impact. Pushing conditioning before your kicking mechanics are solid increases injury risk without speeding up meaningful progress.
Does shin conditioning ever fully stop hurting?
Most experienced fighters report significantly reduced pain sensitivity over time, but shins can still bruise or ache after a hard sparring session or fight, even for veterans. Conditioning reduces sensitivity and increases durability, but it doesn’t make the shin invulnerable.